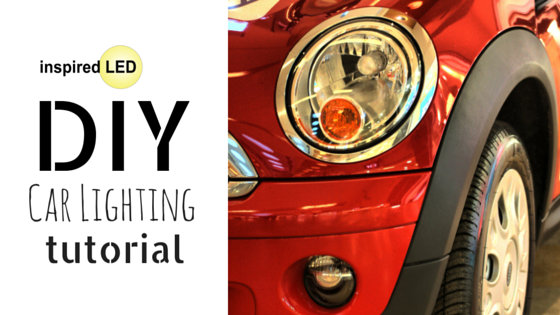
 While LED lighting is most commonly used around the house, under cabinets or lighting up commercial displays, there are many other creative and unique places where these handy little lights can find themselves at home! One of the less common, but more impressive areas where our LEDs have been utilized is as accent lighting on vehicles.
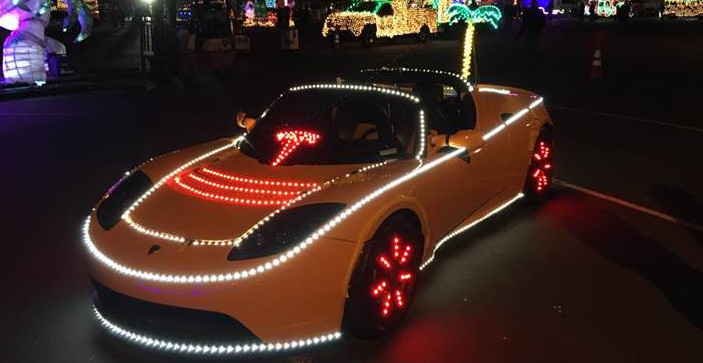
Interior car lighting can provide a functional element in the ability to find things late at night. If you’re an avid camper or frequent road trip adventurer, it can serve as a way to perform tasks a bit more easily than you might under the dim light of your car’s standard fixtures. Of course, there is also an aesthetic element to installing LEDs on your vehicle. Exterior car lighting, or under-lighting can make a bold visual statement, sure to make your ride to stand out in a crowd.
But how exactly does one install an LED system in the car when there is no standard outlet to be found? This is a question commonly asked of our Design Team. Well, the good news is, it’s not as difficult as it sounds, since most car batteries output 12 volts, and this just happens to be the power requirement for most of Inspired LED’s strip light products.
Using this tutorial, and a few basic components, we’ll walk you through several different techniques which can be used to install LED strip lights in your vehicle.
 Disclaimer: Before beginning, please note that laws regarding aftermarket lighting will vary from state to state, however in general, exterior vehicle lighting is prohibited under normal driving conditions. Be sure to check your state traffic laws and motor vehicle codes for restrictions on colors and locations of LED lights before installing. This project should be completed by qualified and experienced individuals only.
Materials:
- Inspired LED Single Color Strip Lights
- Inspired LED Tiger Paw® Screw Terminals
- 18-22 AWG Class 2 cable or speaker wire
- Dimmer with Wireless Remote (if desired)
- Scissors
- Wire strippers
- Small Phillips Head Screw Driver
- Electrical tape
- Scotch or Painter’s Tape
To power, you will also need materials for one of the following methods:
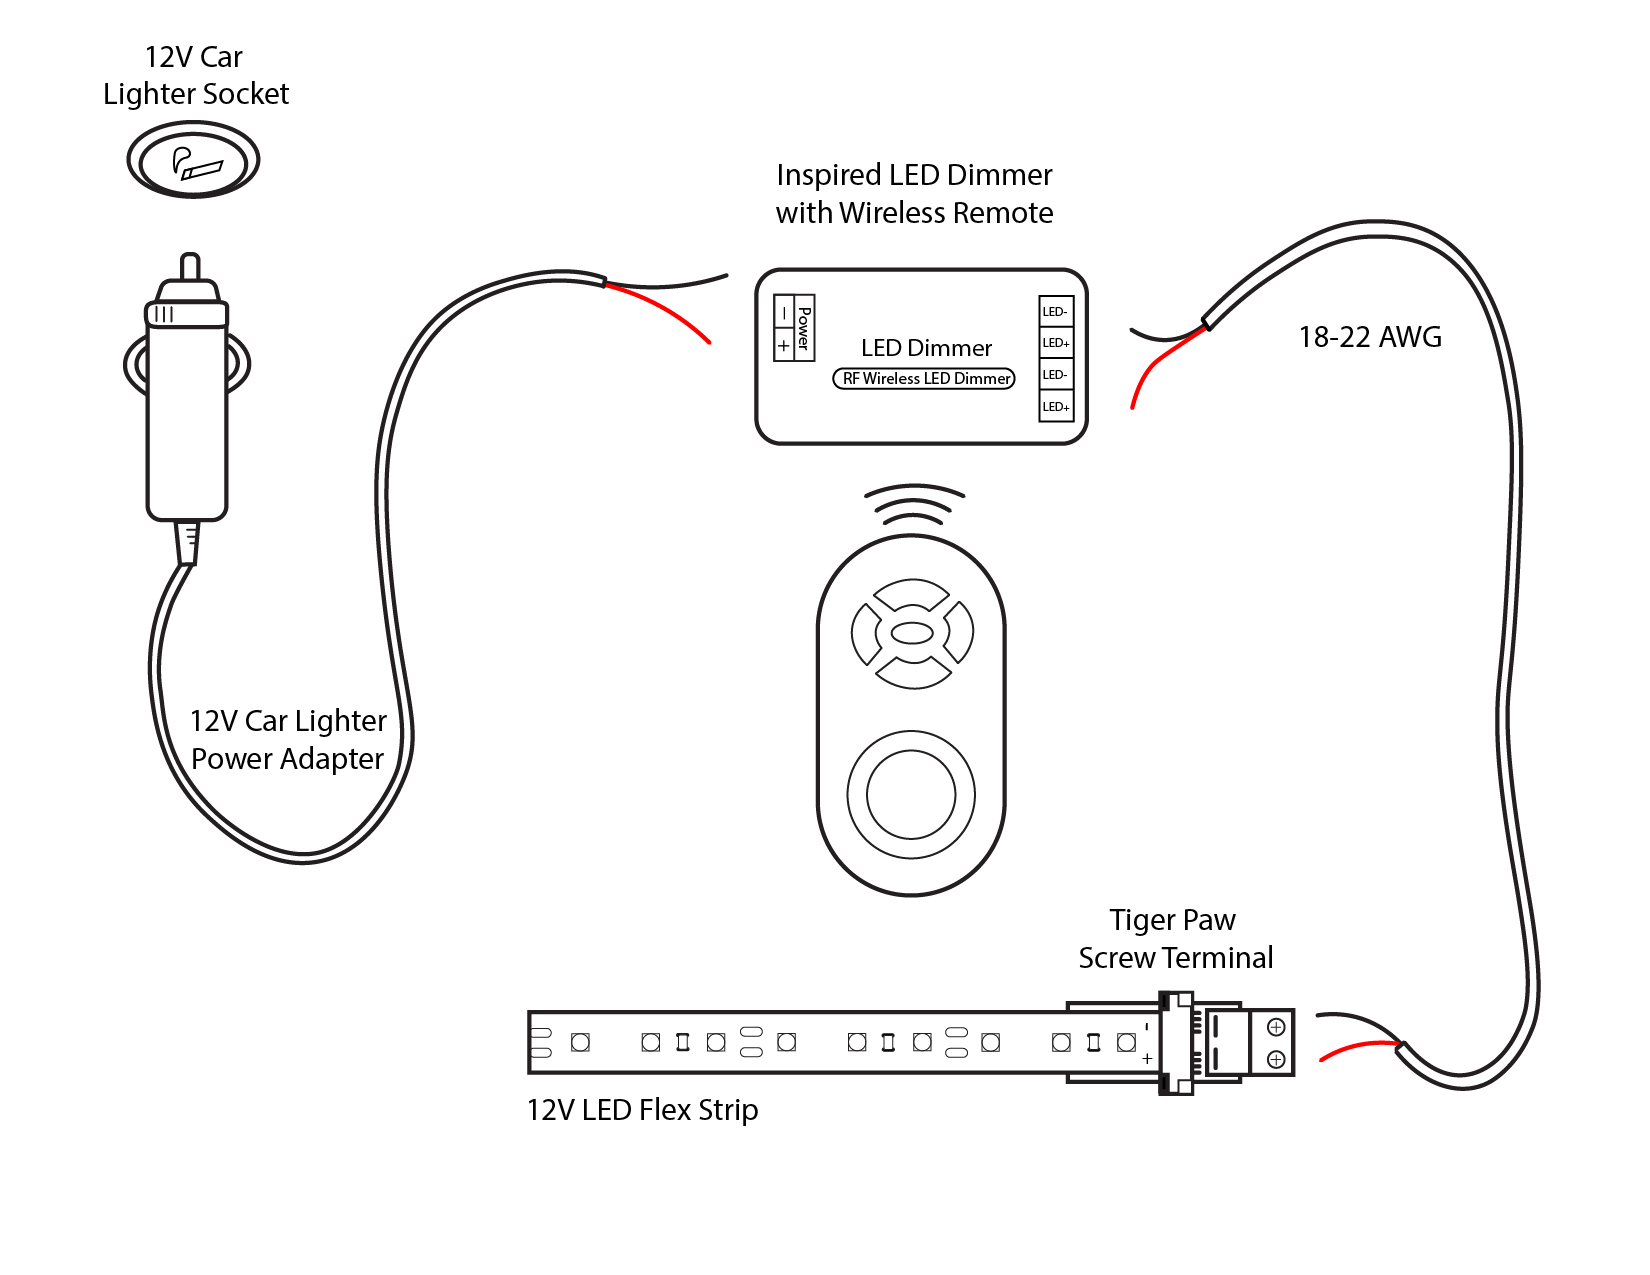
Method 1- powering from cigarette lighter
- 12V Cigarette Lighter Power Adapter (certain brands available with on/off switch if desired)
- Wire nuts (if not using dimmer with wireless remote)
Method 2- powering from existing vehicle light
- Wire nuts
Method 3- powering directly from car battery
- In-line fuse holder with appropriately sized fuse (similar to this one available on Amazon)
- Ring terminals (if desired)
- Wire nuts
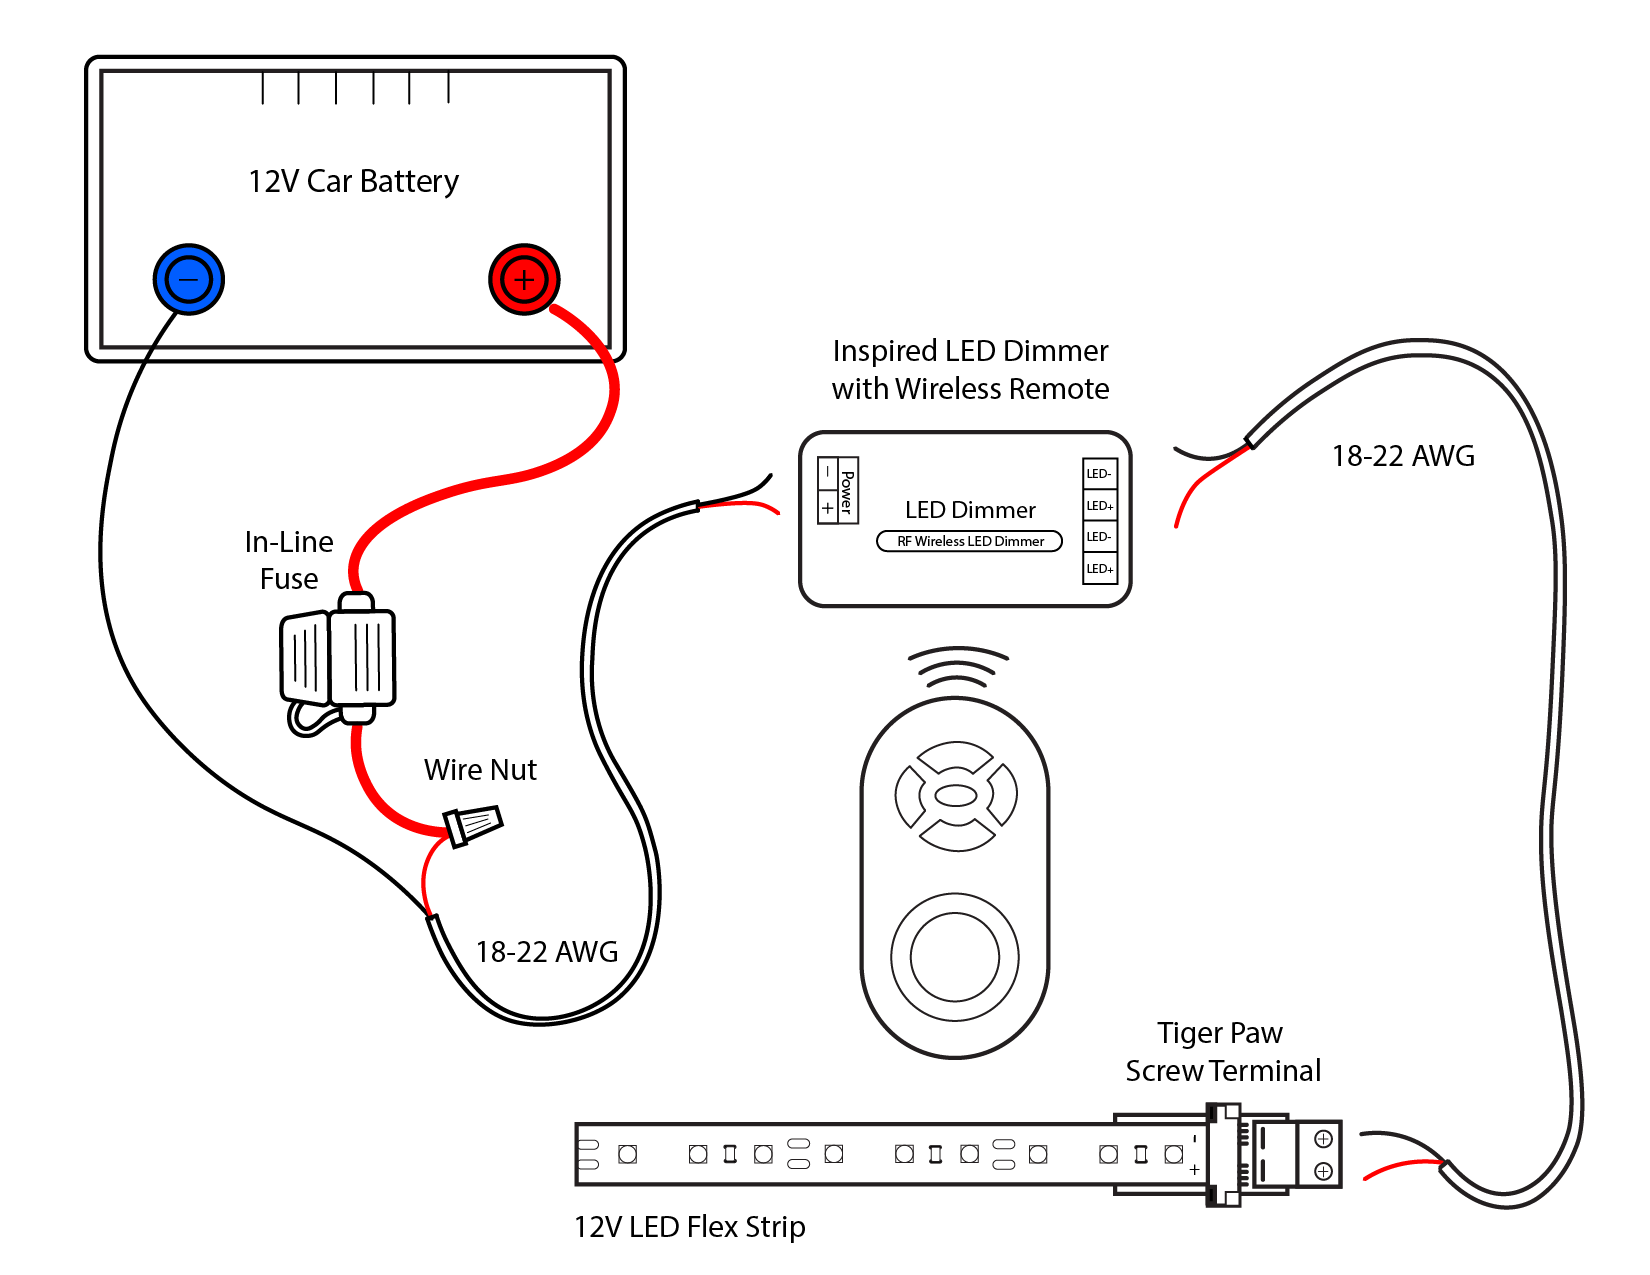
Step 1: Plan your design. Depending upon where you decide to add your lights, your design will vary. Common locations for LED accent lighting in cars include under the dash, under seats, and in the trunk. A sample lighting plan is illustrated below.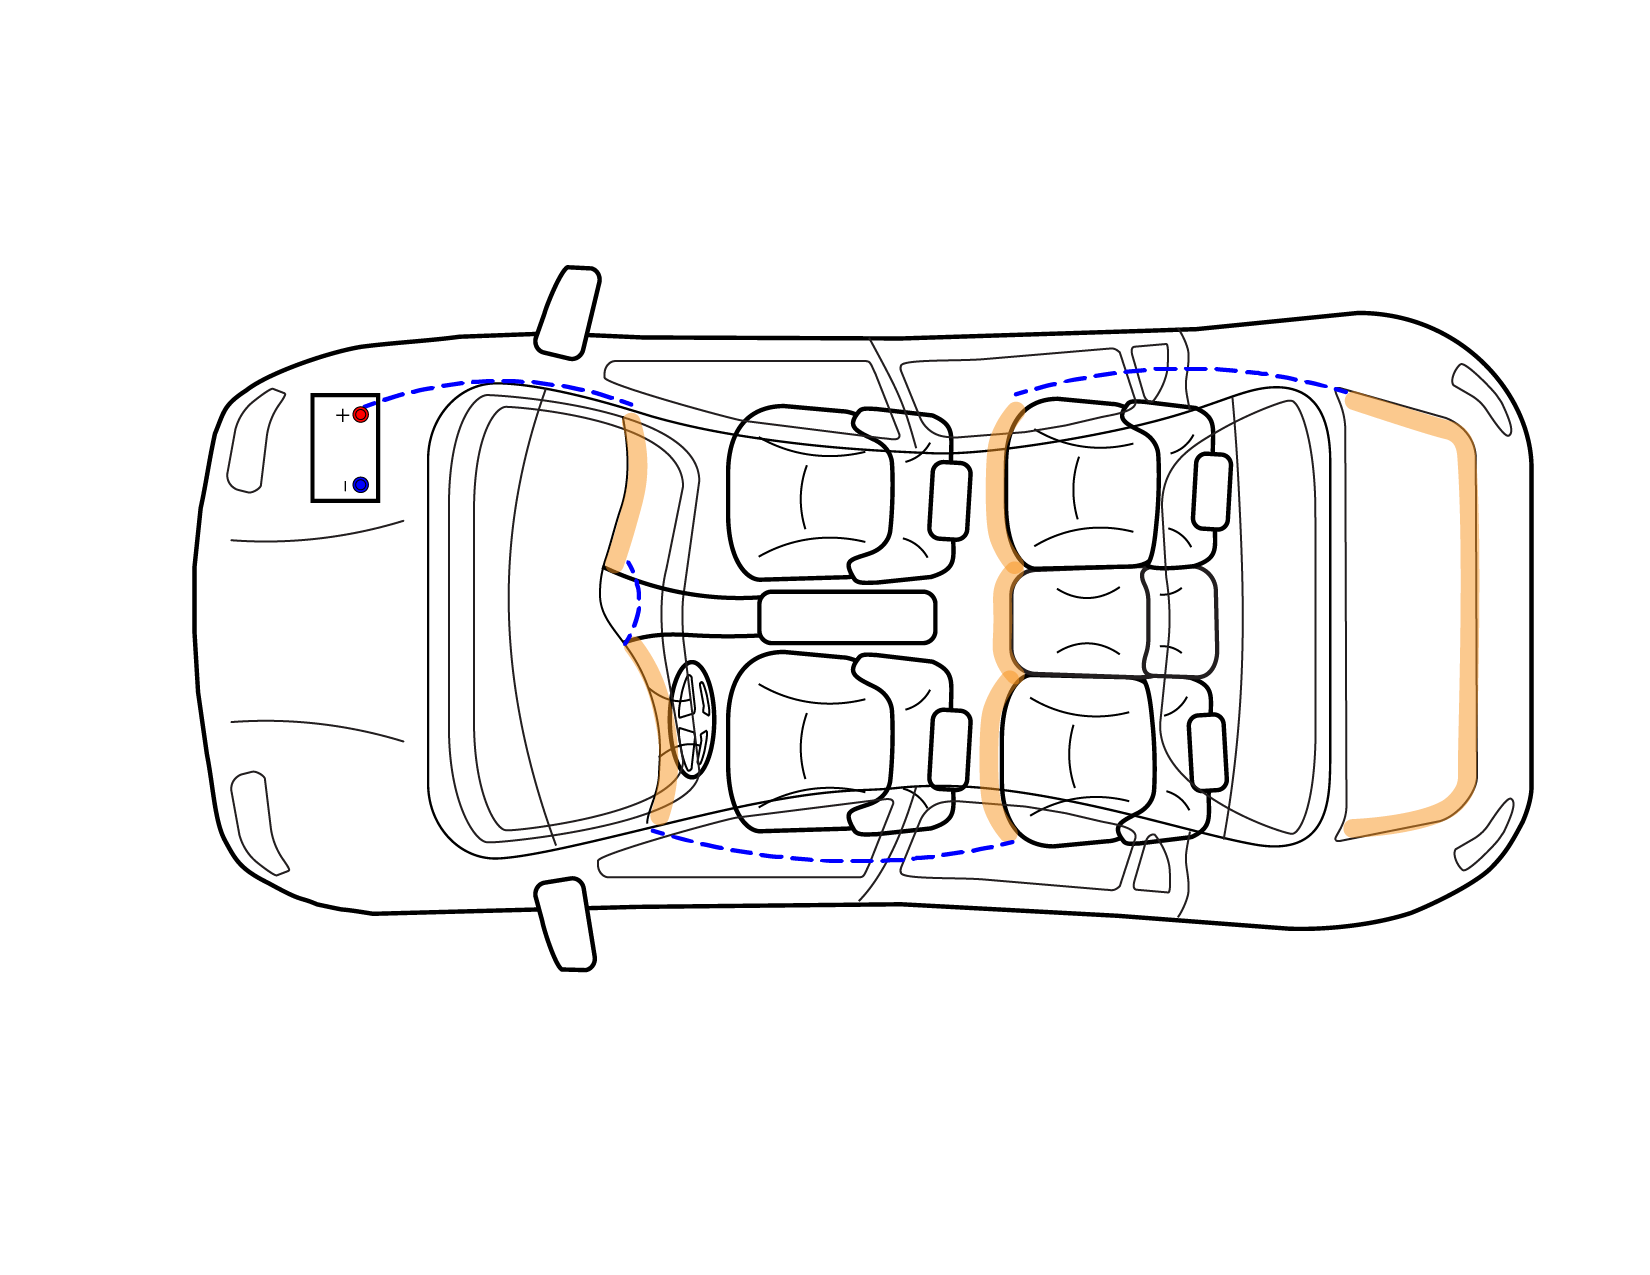
Step 2: Measure the available space for each light strip, leaving at least 1.5” of space in any location which will require a cable connection. Cut strips to length on copper solder pads only (cutting elsewhere will damage LEDs). 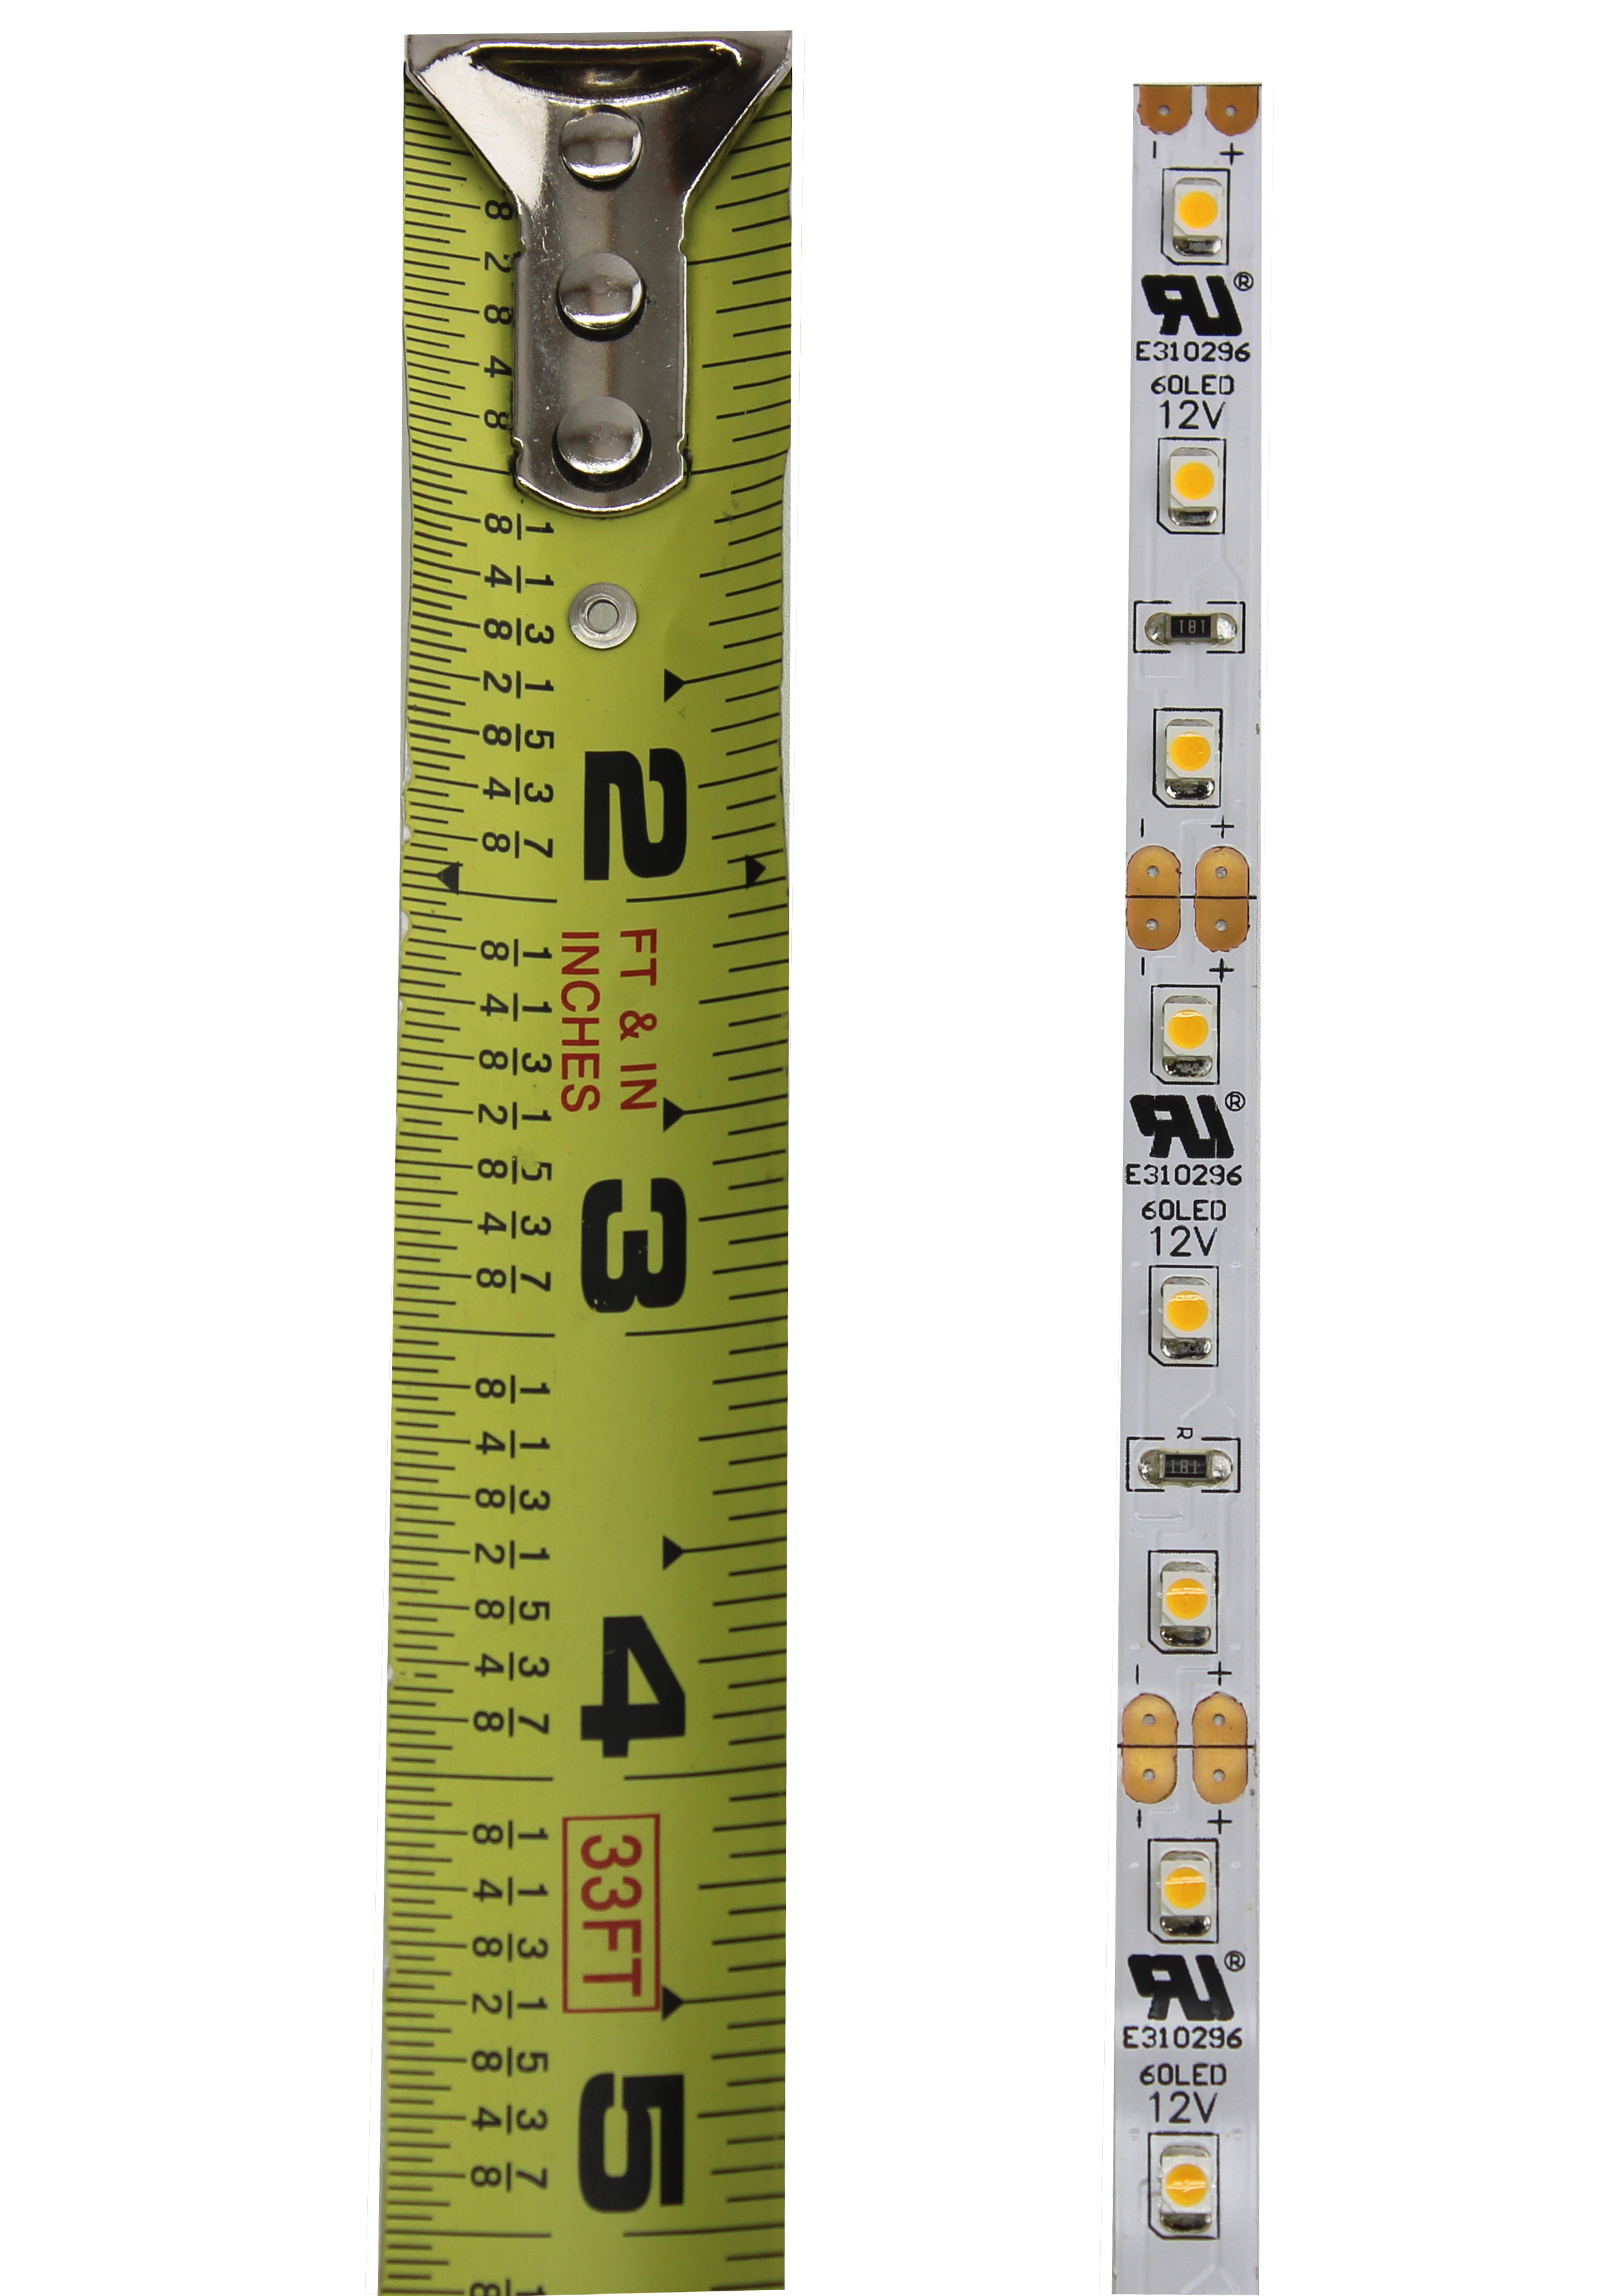
Step 3: Add tiger paw screw terminal connectors to the end of each LED strip by peeling back flex strip adhesive, pulling open black tiger paw tab and inserting flex strip. Push black tab closed to ensure secure connection. (Learn more about using Tiger Paw® Screw Terminals by clicking here.)
Step 4: Wire each string of lights together by first loosening the screws on each Tiger Paw® screw terminal. Strip back cable about ¼”, and taking care to match polarities to LED strip, retighten screws to make connection. (Depending on system requirements, wiring series is often easier to connect to power as you will have fewer cables to deal with.) 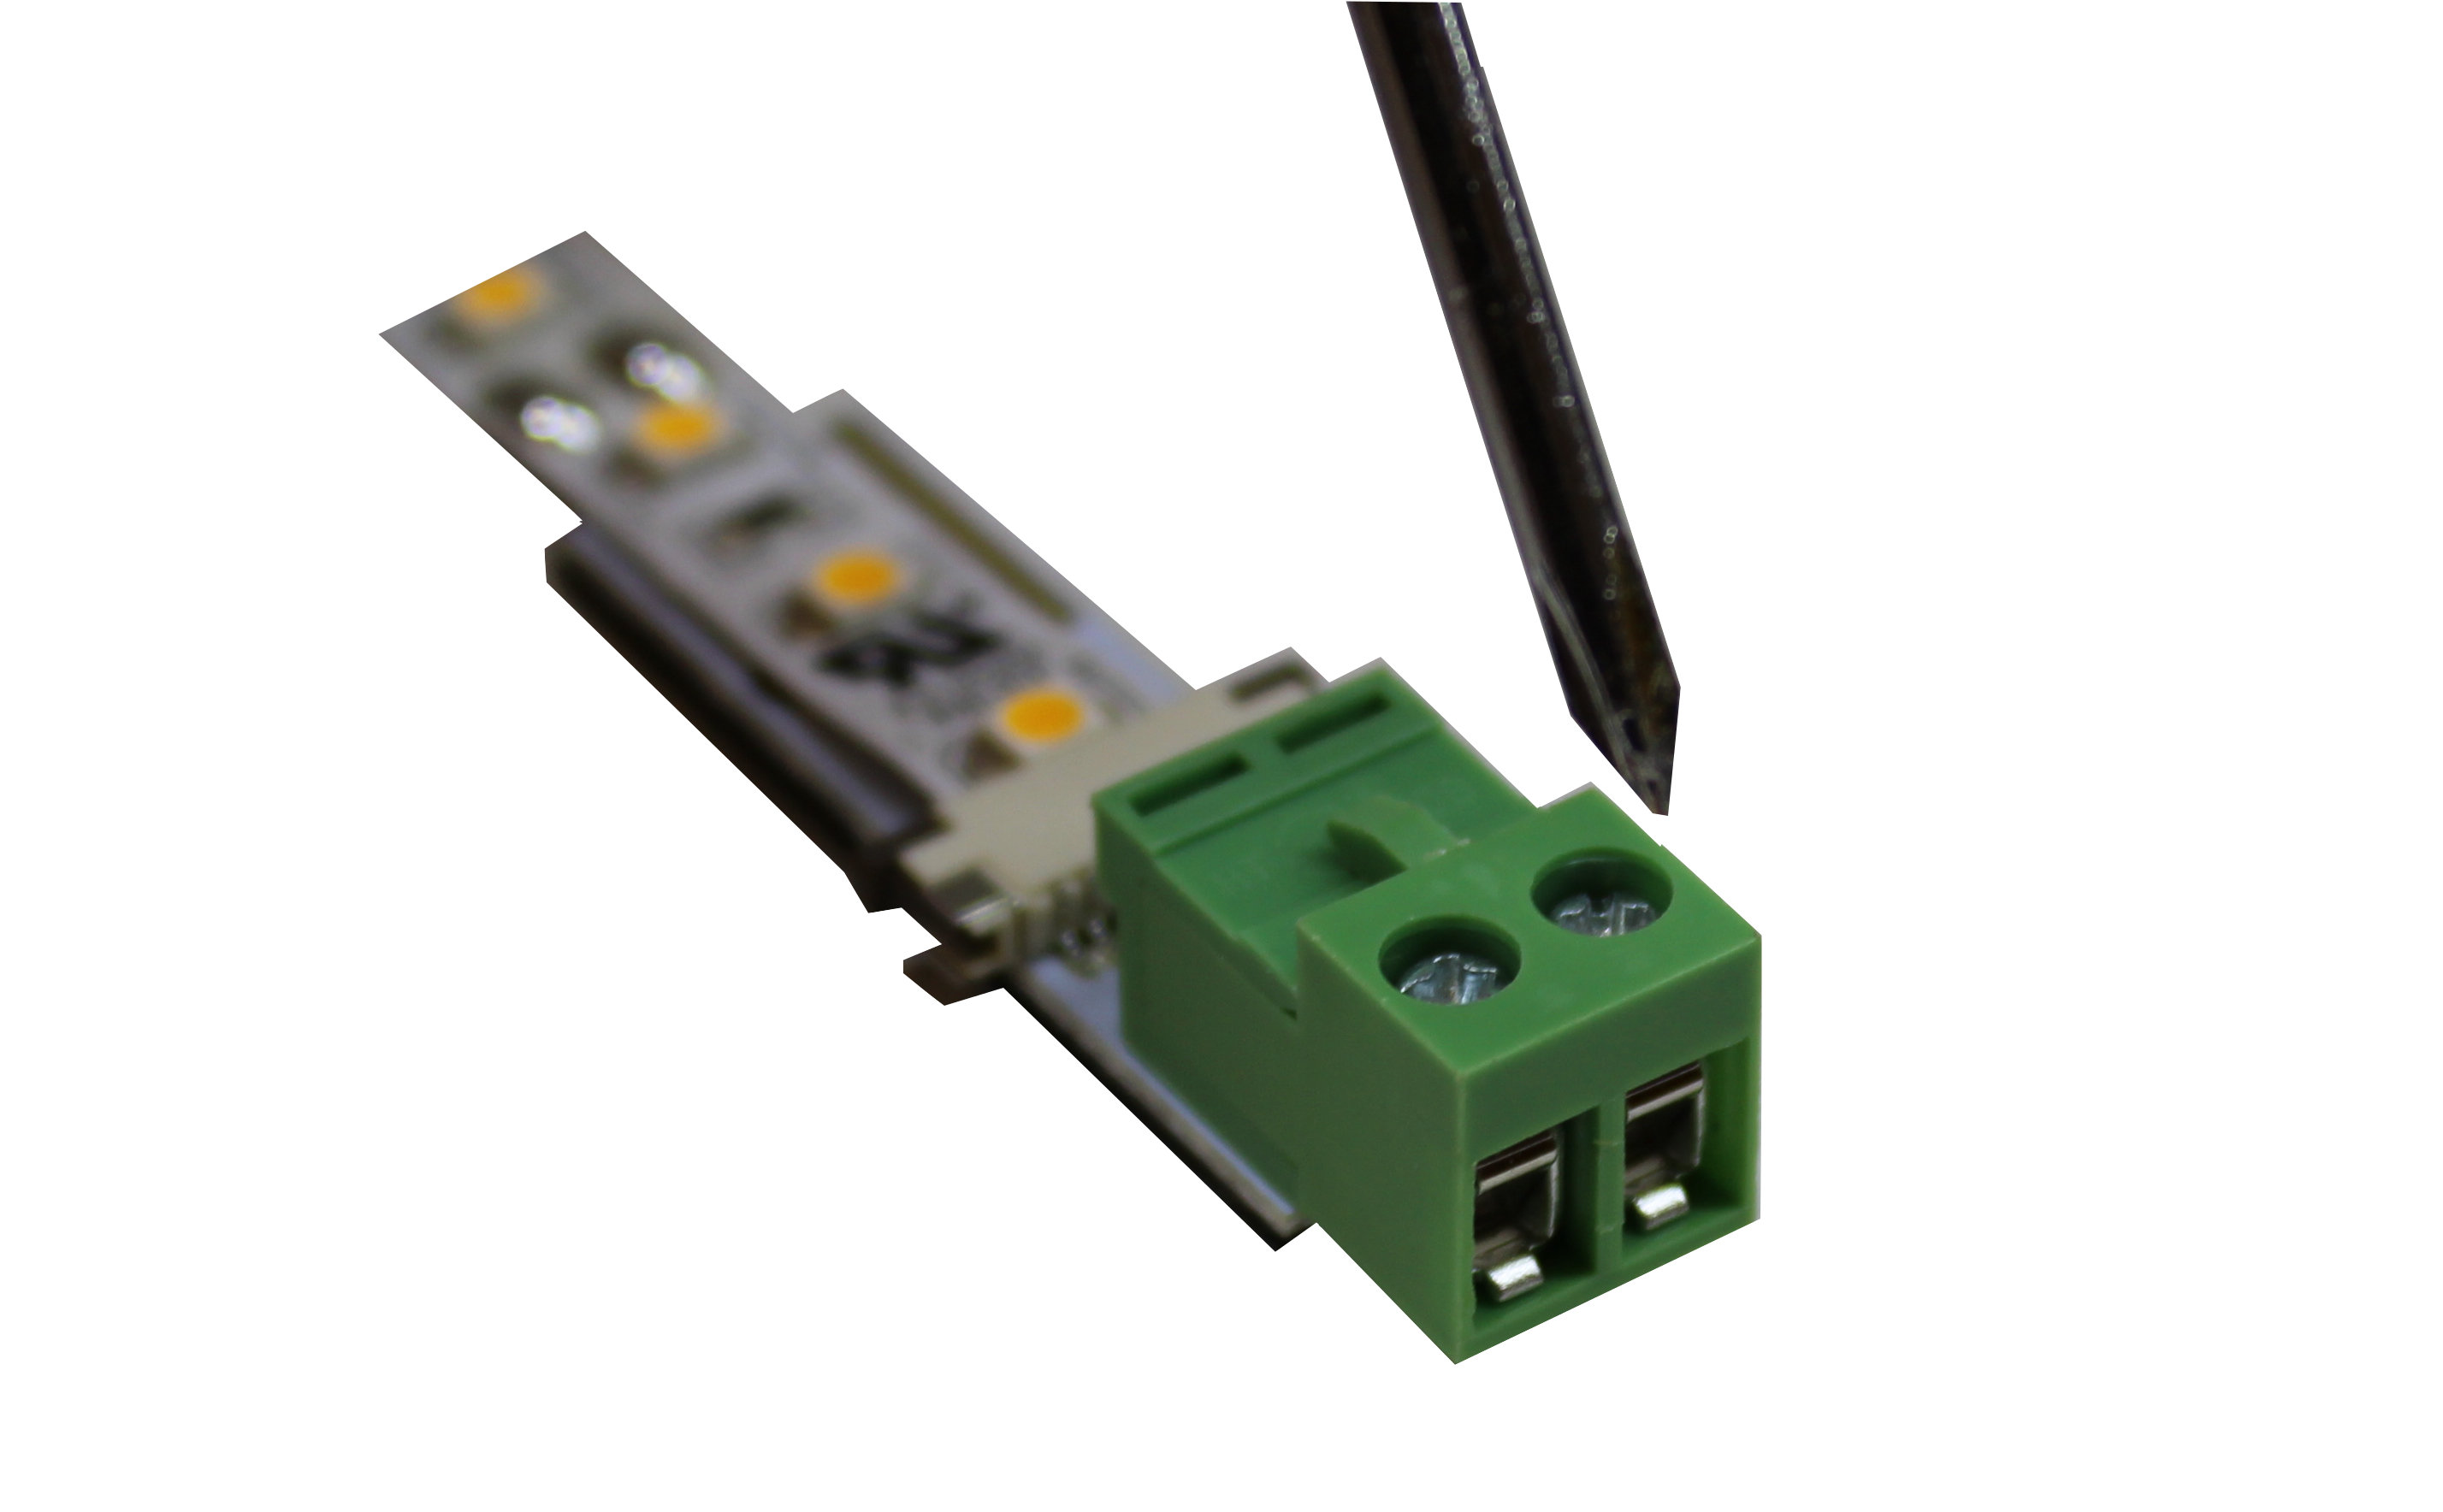
Step 5: Temporarily mount LED strips in desired locations using scotch or painter’s tape and run wires back to a central location to connect to power as specified below. Before continuing on to step six be sure that your vehicle is turned off. 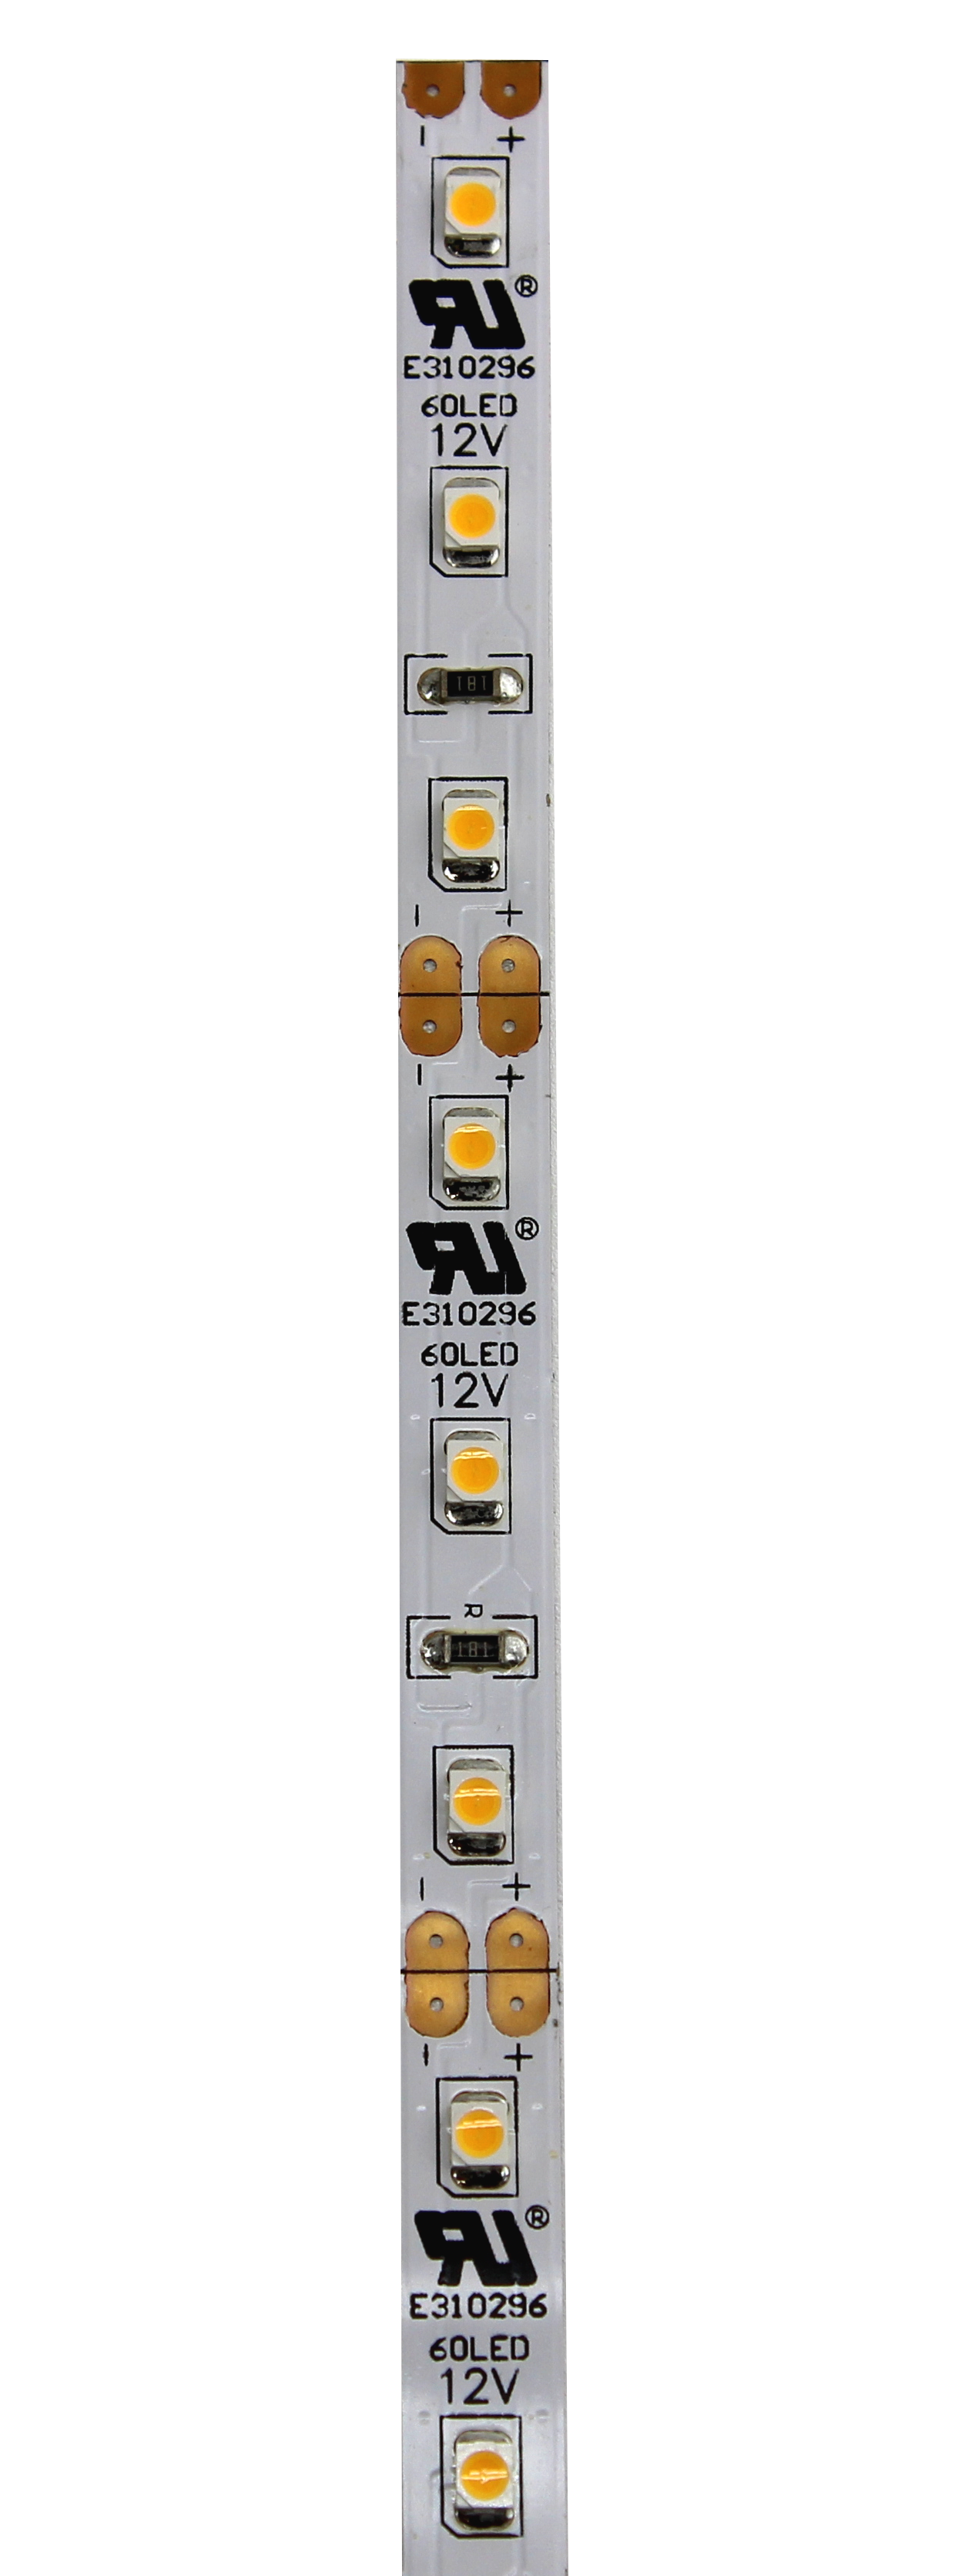
Step 6 (Method 1): If using a 12V cigarette lighter power adapter, start by cutting off the end connector and stripping the cable back about ¼”, identifying polarity of each wire. If you are using a dimmer with wireless remote, loosen the screws for the input terminals, match polarity and insert stripped cable into the power side of the receiver module. Then retighten screws to make secure connection. Repeat these steps to connect the wires from your LEDs to the output of the receiver module.
If you chose not to use a dimmer with wireless remote for control, you will simply need to group all positive leads and all negative leads together, matching polarity to wires from cigarette adapter and using wire nuts to make connections. LEDs will turn on automatically with the vehicle and remain on until cigarette adapter is unplugged or the car is turned off.
Step 6 (Method 2): The benefit of tying your LED system into existing wires for interior car lighting is that no additional fuse or control device is needed. Your LEDs will automatically turn on and off in sync with the factory installed lights. To accomplish this, begin by locating a central light source into which you will tie your cables (this can be a trunk light, door lights, or other courtesy lights throughout the vehicle). As discretely as possible, expose the wires running to the designated light source, and determine a location where it would be suitable to make your connection. Cut the wire and use cable strippers to expose positive and negative leads on both sides.
If you chose to use a dimmer with wireless remote, you will need to use a length of 18-22 AWG wire to tie in to both sides of the existing cable with wire nuts. Then loosen the screw terminals on the wireless receiver module, match polarities from the stripped power cable to the input, insert, and retighten screws. Repeat these steps to connect wires from your LEDs to the output of the receiver module. If you chose not to use a dimmer with wireless remote for control, you will simply need to group all positive leads and all negative leads together, matching polarity to wires from overhead car light and wires from existing electrics , then use wire-nuts to make connections. LEDs will turn on and off in sync with the existing overhead lights.
Step 6 (Method 3): If you decide to make a direct connection to your car battery, begin by disconnecting both the positive and negative terminals from the battery nodes. In order to prevent power fluctuations from damaging your LED system, you will need to connect an in-line fuse to the positive terminal before proceeding to your lights. The easiest way to accomplish this is by stripping back one end of your fuse cable, and attaching a ring terminal sized to match your battery node. On the other side of your fuse, you will need to wire nut directly to the positive side of an 18-22 AWG cable. The negative side of this 18-22 AWG cable will need to be connected to the negative battery node (or to ground) either directly, or using a ring terminal.
If you choose to use a dimmer with wireless remote, you will need to connect the 18-22 AWG wire from your battery to the input of the wireless receiver module. Loosen the screw terminals on the wireless module, match polarities from the stripped power cable to the input, insert, and retighten screws. Repeat these steps to connect wires from your LEDs to the output of the receiver module. If you chose not to use a dimmer with wireless remote for control, you will simply need to match polarities from the power cable to the polarity of your LED system, either using wire nuts to connect all positive leads, and all negative leads, or connecting the power cable directly to the first screw terminal in series. LEDs will turn on automatically with the vehicle and remain on until the vehicle is turned off.
Step 7: Turn on vehicle to provide power to LED lights. Test system connections and controllers. Once satisfied with system functionality, remove adhesive backing and adhere LED light strips in place.
Inspired LED offers a wide variety of easy-to-use lighting products for DIYers. For questions on this, or other lighting projects, contact our design team at design@inspiredled.com or give us a call at 480-941-4286. We are eager to help make your lighting vision a reality!
Check out Our Other Articles:
https://www.inspiredled.com/led-kitchen-lighting/how-to-installing-glass-cabinet-lighting/
https://www.inspiredled.com/inspired-led-products/inspired-led-101-minimizing-the-dot-effect/
https://www.inspiredled.com/inspired-led-products/inspired-led-101-how-to-hardwire/
https://www.inspiredled.com/how-to-videos/diy-project-tutorial-glowing-shelf-light/
https://www.inspiredled.com/led-office-workshops/lighting-garage-workshop/
https://www.inspiredled.com/led-television-accent-lighting/get-this-look-the-floating-shelf/
https://www.inspiredled.com/inspired-led-products/led-light-color-temperature-warm-vs-cool-white/