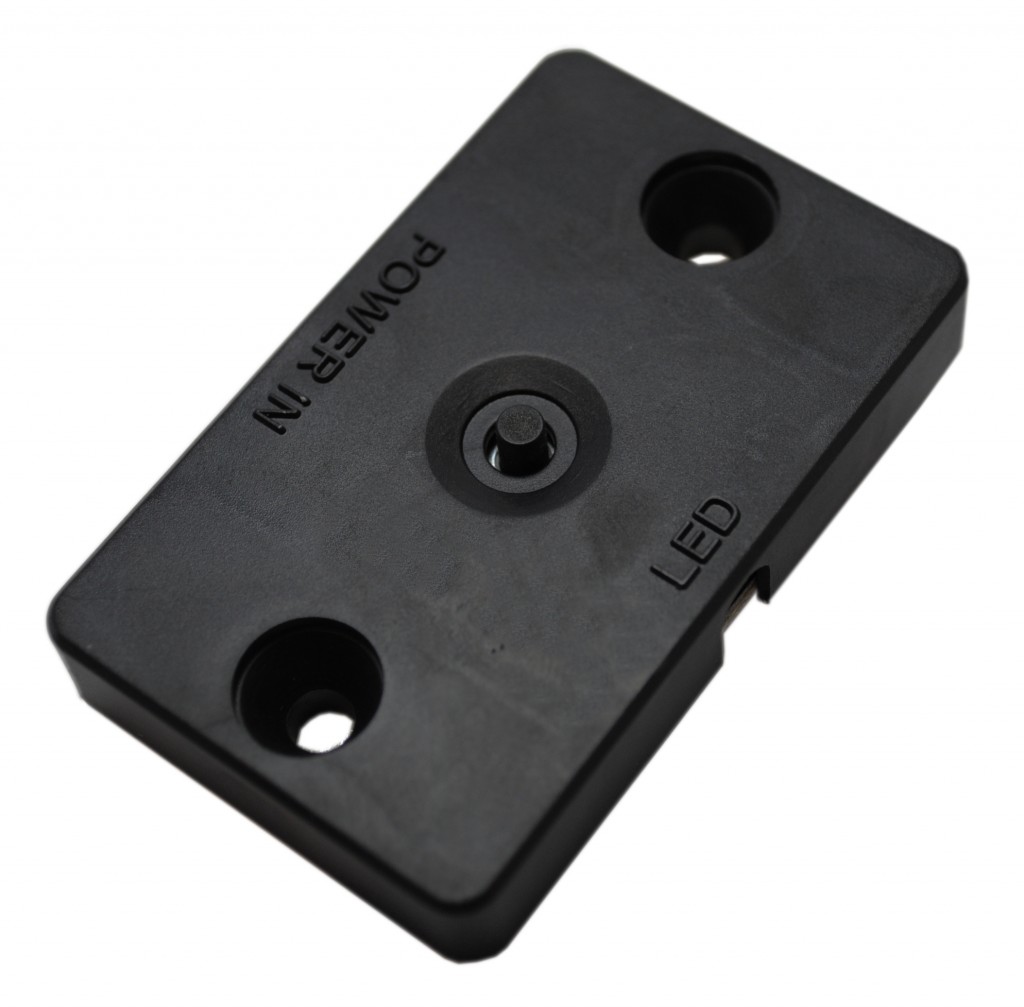
This video explains how to install a four-position dimmer, which goes in-line in between the power supply and the first light. The four position dimmers are ideal for plug-in systems, powered by Inspired LED’s power supplies. It does not require you to hardwire any items in your system, while still giving you the functionality of an LED dimmer.
Our four position dimmer works with all of our LED lights and is a great addition to any system. It allows you to bring your lights down from task lighting to accent lighting in a snap! View our easy video to learn more!
How To: Install a Four-Position Dimmer
- Take a four-inch interconnect cable and plug it into the “LED” side of the dimmer.
- Then plug in the power supply to the “power” side of the dimmer.
- Put the interconnect cable at the end of the lighting strip, remove the adhesive, and stick it to the base of the cabinet.
- Test out positions 1, 2, 3, and 4. The dimmer has settings at 25%, 50%, 75%, 100%, and an off setting.
- Always make sure to test your products before permanently installing.
- If your dimmer is not working, make sure it is plugged in properly (see above for more details).
If you have any questions about how to install your LED lights please email us at info@inspiredled.com or visit our website at www.inspiredled.com.


